Surfacing
Switch the toolbar to Surface using the switch at its left end. Surfaces are open NURBS shells. They appear in their own Surfaces folder in the model panel and display from both sides.
How surfacing works
A typical free-form part goes through four steps:
- Lay out curves that describe the shape: sketch curves, or 3D CV curves.
- Build surfaces from them with skins, rails and patches.
- Blend and trim the surfaces until they form a watertight set.
- Stitch or thicken them into a solid you can manufacture.
All of these steps stay in the timeline, so you can go back and reshape a curve later.
CV curves
Press V (CV Curve) and click to place control vertices. The curve is pulled towards them and passes through the first and last one. In the inspector you can:
- choose the degree (1, 2, 3 or 5), and whether the curve is closed;
- choose where points go: Auto (the ground, or the upright plane facing you), XY, XZ, YZ, the View plane through the last point, or any construction plane;
- set an Offset to draw above or below that plane;
- turn Snap onto faces on to place points directly on the model.
Press Enter to finish, or Backspace to remove the last point. Orbit between clicks to build a curve in 3D.
Building surfaces
| CV Surface | A NURBS patch with an editable grid of control vertices. Start from a plane (set size, CV counts and degree), or rebuild an existing face. |
|---|---|
| Skin | A surface through two or more section curves, in the order you click them. |
| Rail | Sweeps a profile curve along a rail curve. |
| Boundary patch | Fills a closed loop of curves or edges. Choose G1 to make it tangent to the faces next to it. |
| Extrude / Revolve | Straight or revolved surfaces from curves. |
| Offset | Copies faces outwards or inwards as a new surface. |
Rebuild as CV surface
Rebuild turns any face into an editable CV surface. It has two methods:
- Exact keeps the face's own NURBS: poles, weights and knots. NURBS and planar faces are reproduced exactly.
- Refit builds a grid with the number of CVs you choose. If a refit is too coarse, Ruffle3D reports how far it is from the original.
Trimmed faces keep their holes and cut-outs in both methods.
Editing control vertices
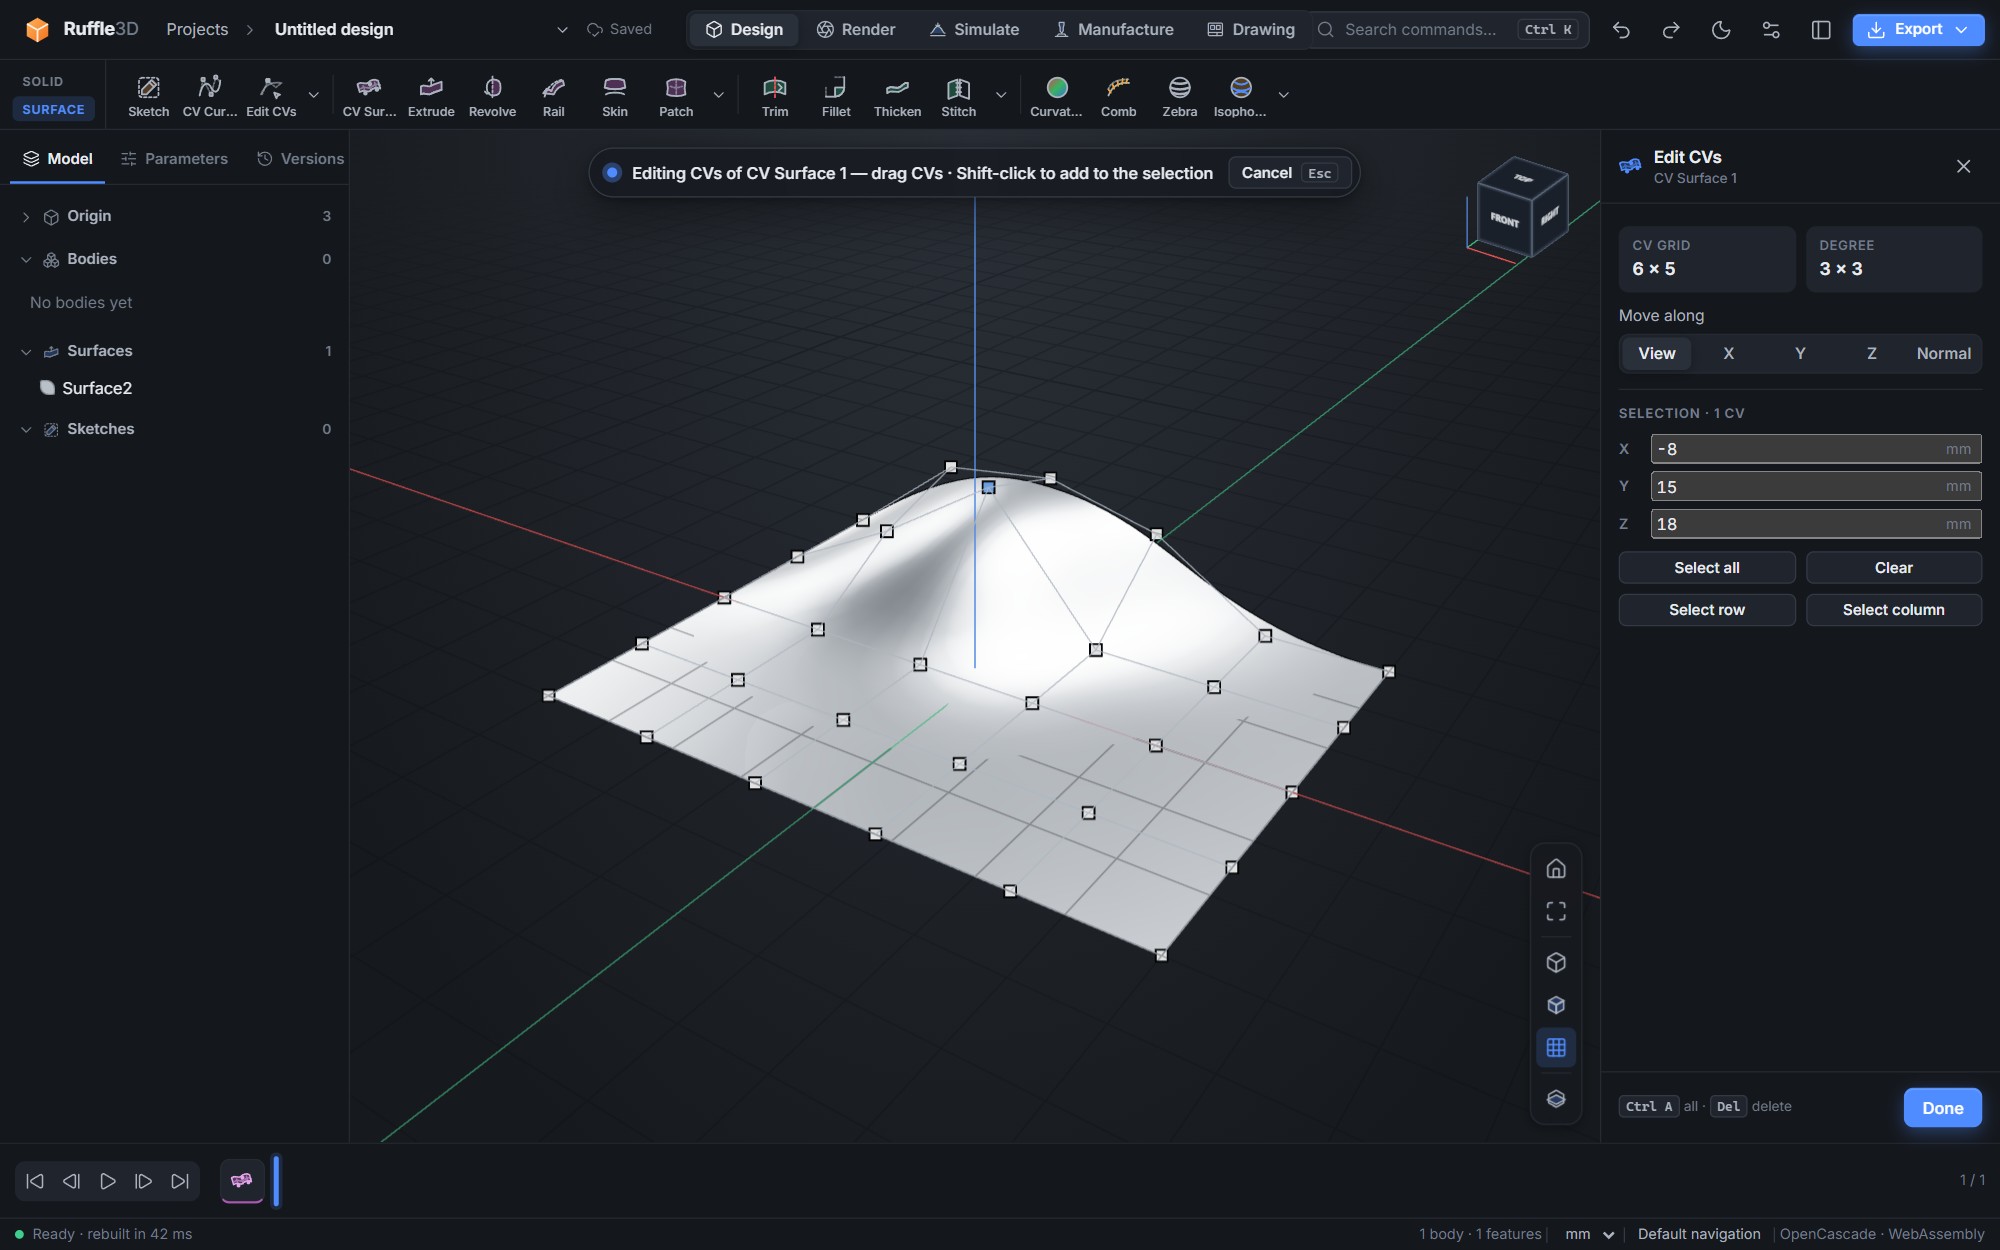
Double-click a CV curve in the timeline, or choose Edit CVs for a CV surface, to show its control hull. Then:
- drag a CV to move it in the view plane, or set Move along to X, Y, Z or the surface Normal;
- Shift-click to select several CVs, or use Select row or Select column;
- type exact coordinates for one CV, or an offset for several;
- on curves, insert or delete CVs, and change the degree or whether the curve is closed.
The shape previews while you drag and rebuilds when you let go. Every edit can be undone.
Fillets, trims and solids
- Surface Fillet: click the part of each surface you want to keep, then set the size. Size by can be the radius or the chord length. A Variable profile can be linear, an S-curve, or pass through a middle value. Both surfaces are trimmed where the fillet touches them, and everything is sewn into one surface.
- Trim: cuts a surface with a curve and keeps or removes the region you clicked. The curve is projected along its own plane, a world axis, or the current view. Choose Use current view to capture the direction you are looking.
- Stitch: sews surfaces together. A closed set becomes a solid; if gaps remain, Ruffle3D tells you how many open edges are left.
- Thicken: gives a surface a wall thickness outwards, inwards or both ways.
Evaluating surfaces
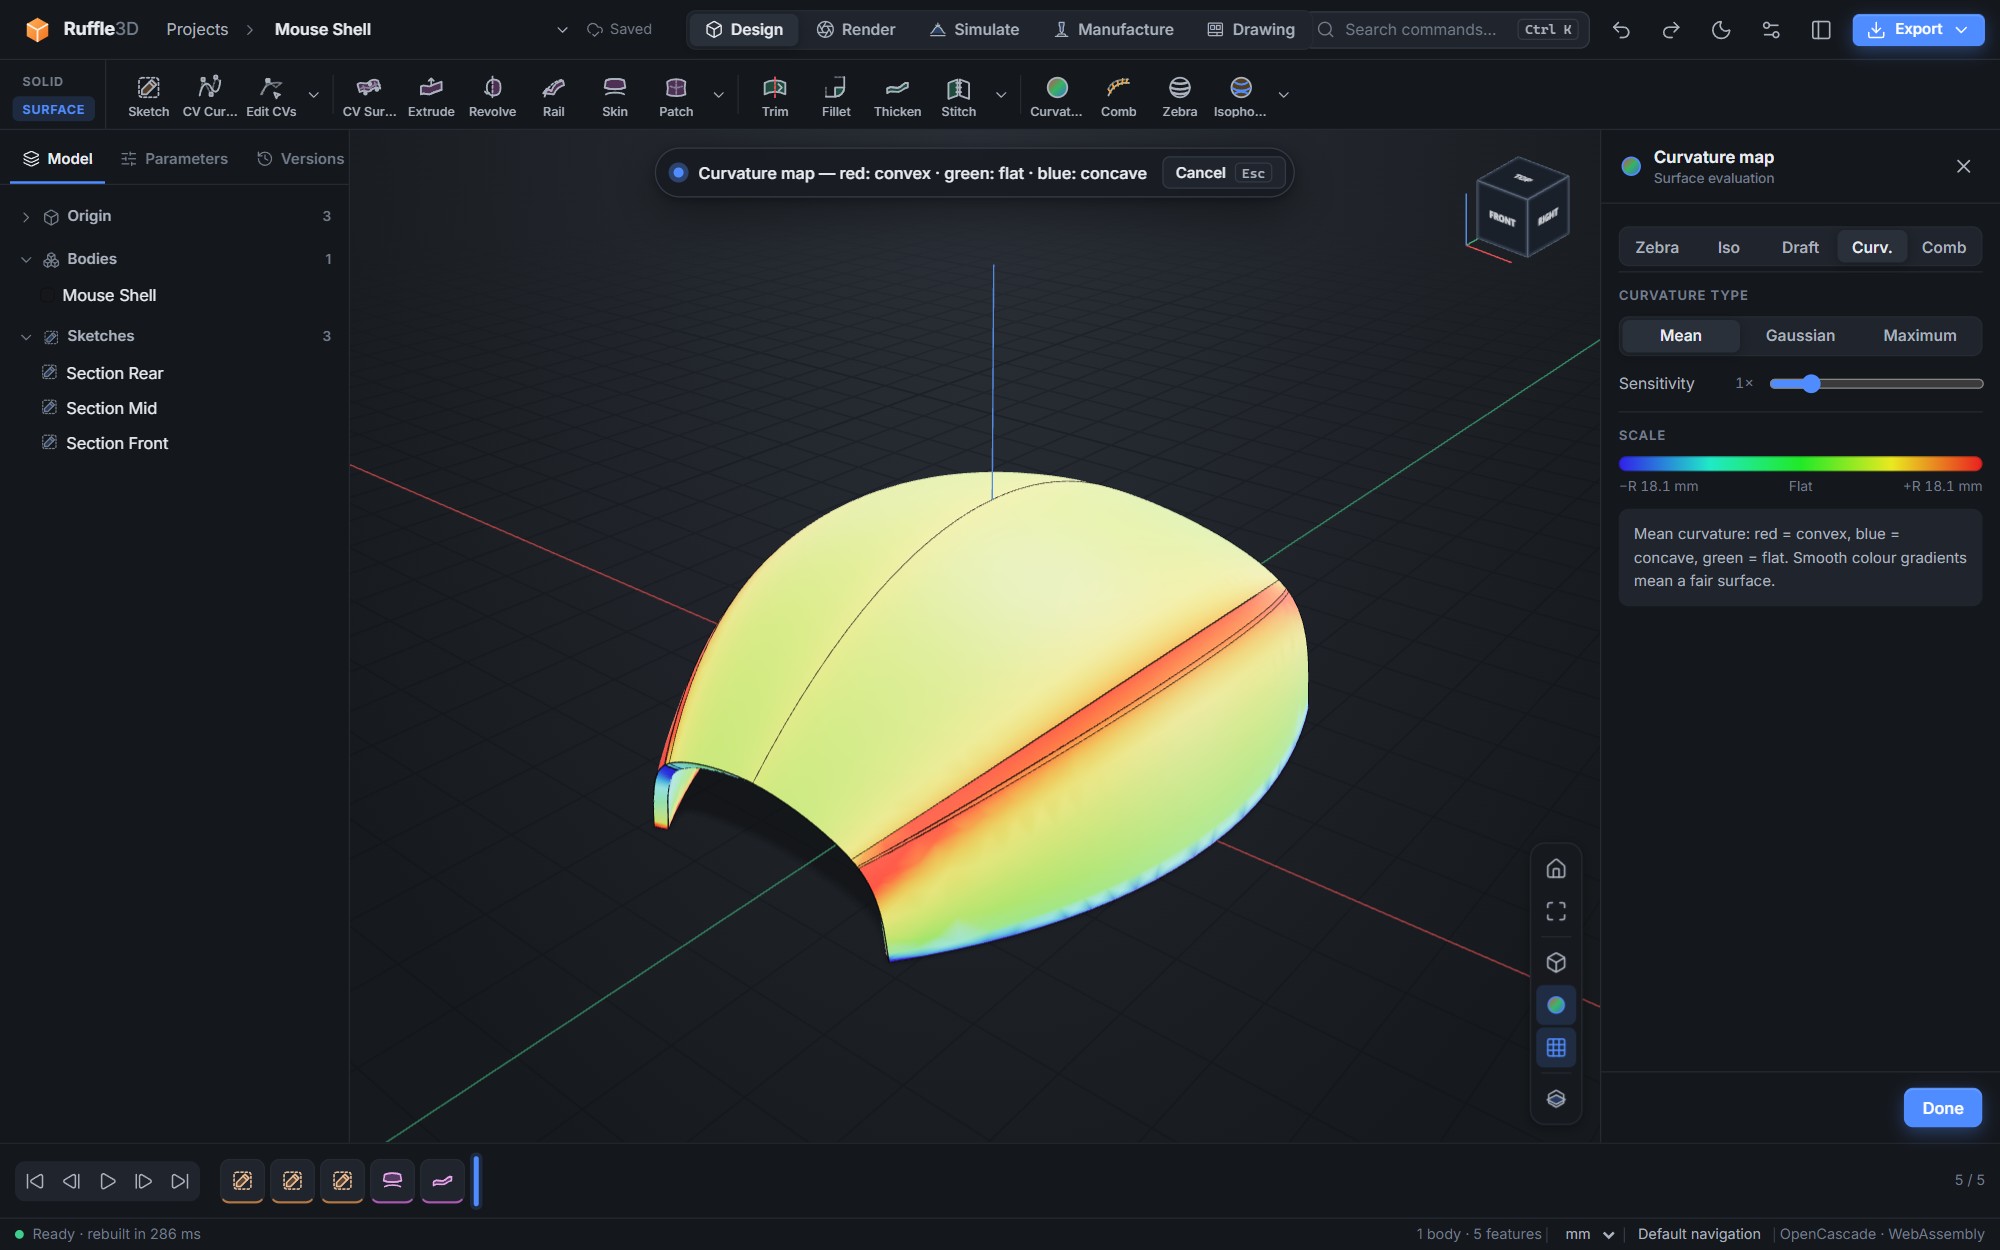
- Curvature map: red is convex, green is flat and blue is concave. Switch between mean, Gaussian and maximum curvature, and use Sensitivity to spread the colours.
- Curvature comb: click edges to show combs. A smooth comb outline means a fair curve.
- Zebra: reflection stripes. Stripes that run on smoothly across an edge mean the faces are tangent- or curvature-continuous.
- Isophotes: lines of equal light angle from a chosen direction. Even, flowing lines mean a fair surface.
- Draft: green faces release from a mould, yellow faces need more draft, and red faces are undercuts.